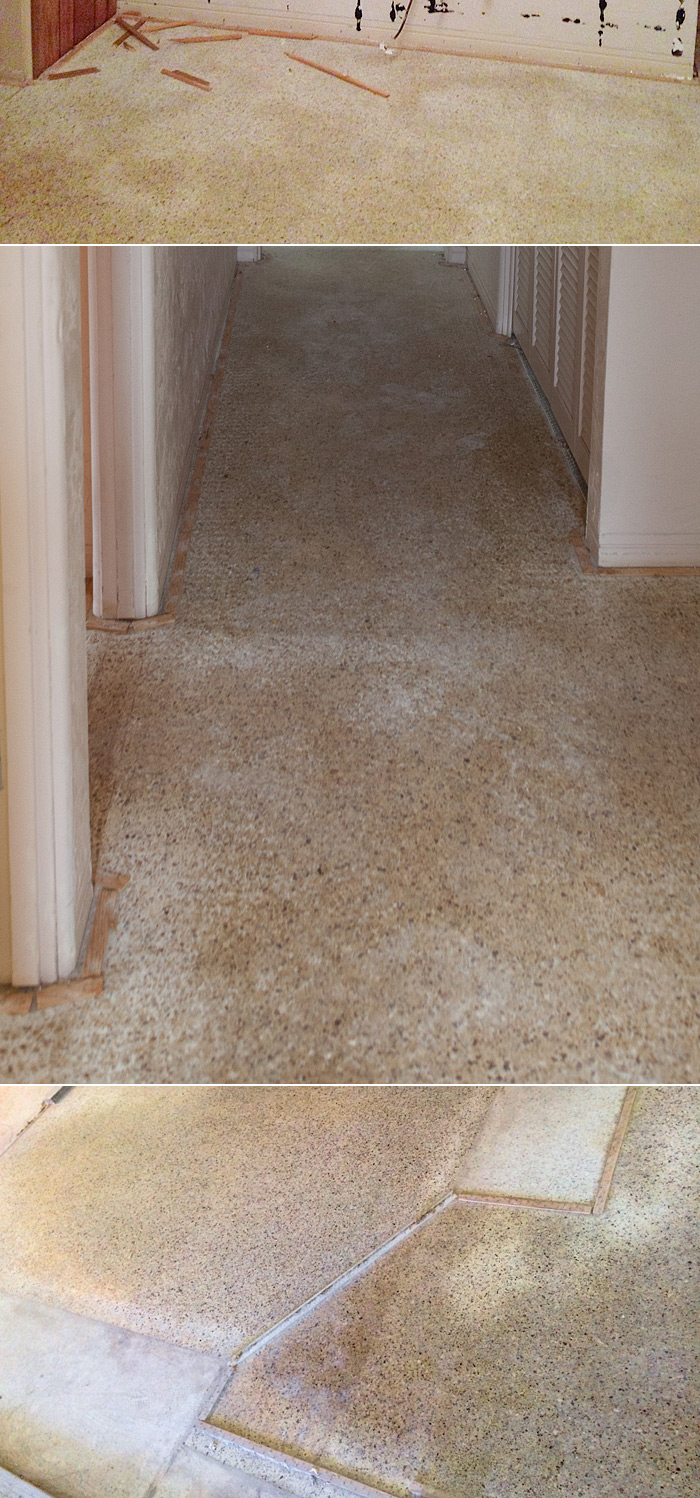
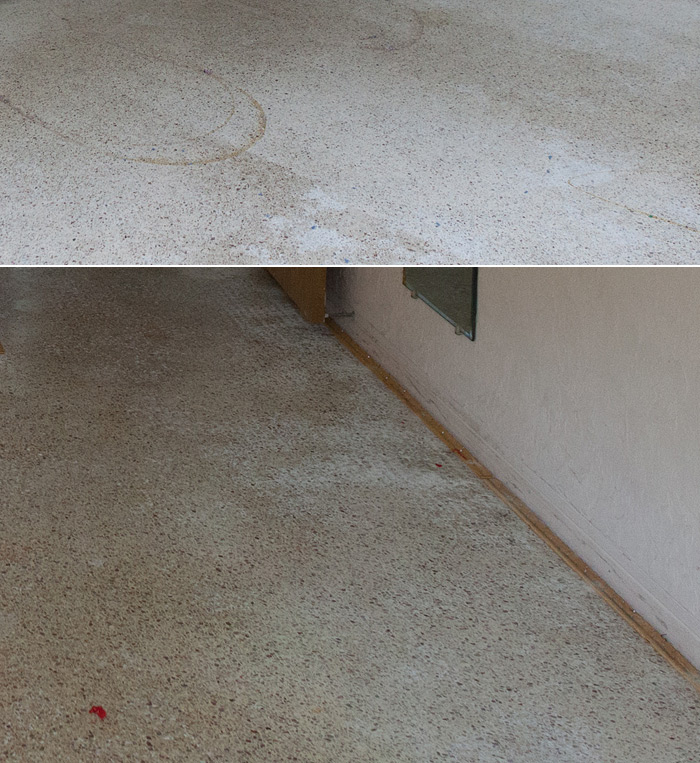
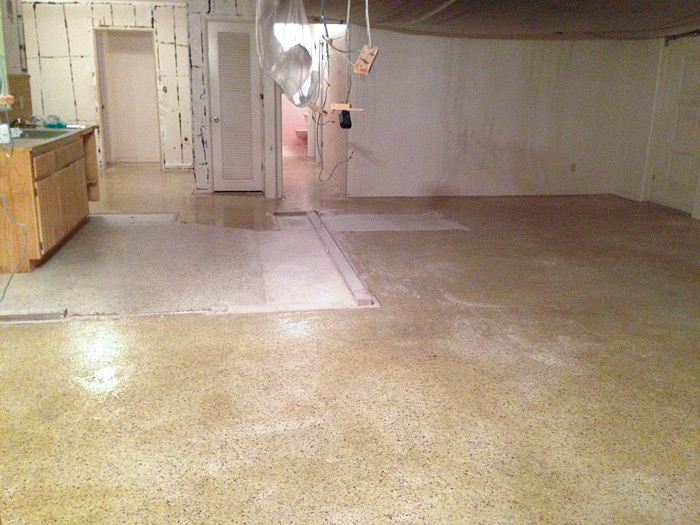
Yesterday I shared with you how we came about our decision to refinish/restore our terrazzo floors and today I am going to share more about the process. To refresh your memory, here are some more examples of what our floors looked like after we removed the old carpets. Keep this in mind: The base color of the terrazzo is actually white.
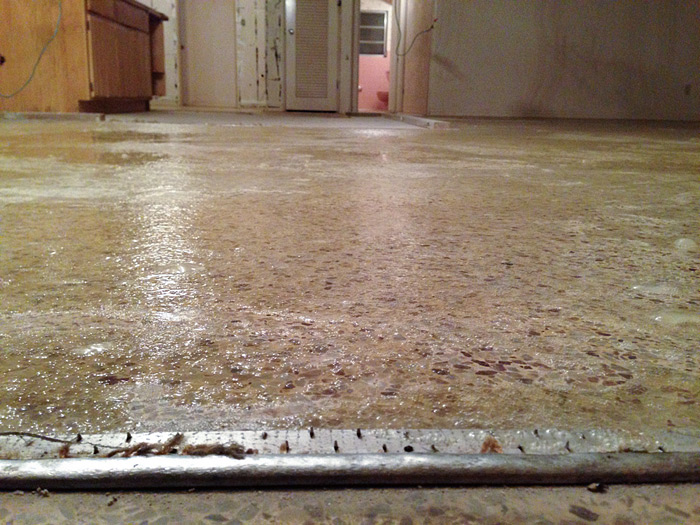
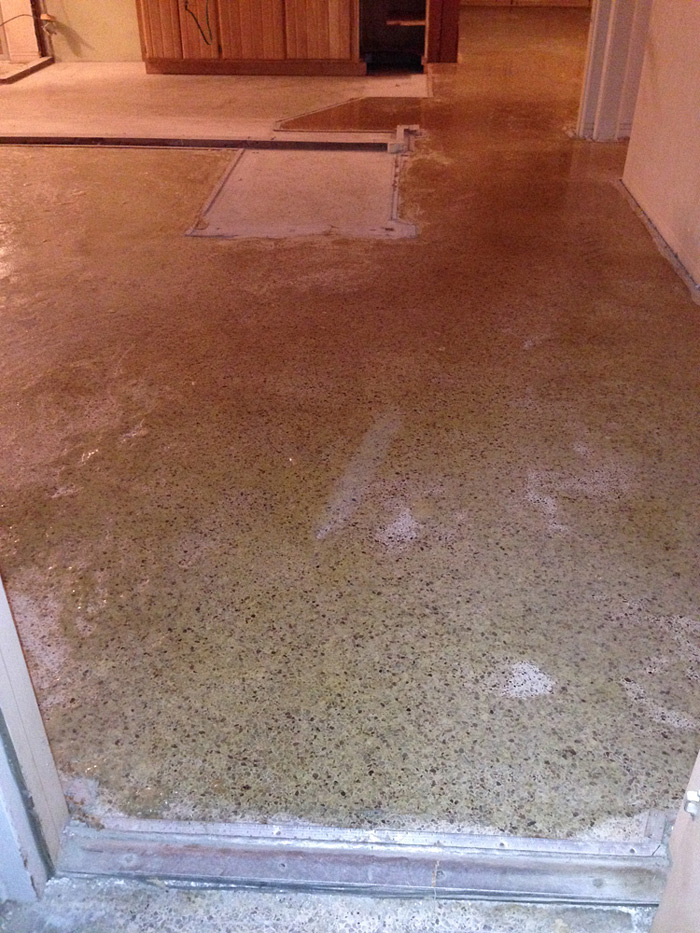
When we went ahead with the plan to restore our terrazzo, we knew that we were taking a huge risk. We had seen with our own eyes just how badly stained and eroded the floors were and the experts had already told us that we might want to consider other options. Since terrazzo is a porous, natural material, the staining was embedded very deeply to the point where we didn’t know if it could be sanded out, even with as many levels of sanding and polishing as we’d be doing. Of slightly less concern were the hundreds of holes and pits in the floor from where the carpet tacking had been. Even though we let the professionals remove the tack, there were still holes that needed to be filled/repaired. However, this is pretty common place with terrazzo restoration so we weren’t too worried about it. This bumped the price up by something like a few hundred extra dollars which, again, wasn’t entirely unexpected. Given the nature of our particular job, it was recommended to us that we take an additional step in the process by using a powerful stripping agent that would hopefully be able to get some of the stains out. At the time, it was suggested that this would lift 90% of the discoloration which sounded like phenomenal odds. We had to buy 25 gallons of a product called Klean Strip and at $23 per gallon, it added up big time. We were willing to do anything and everything though so we had them apply the stripper before they even began the work of grinding and sanding. In the photos below, you can see that they applied the product everywhere except where the terrazzo had not been covered by carpet.
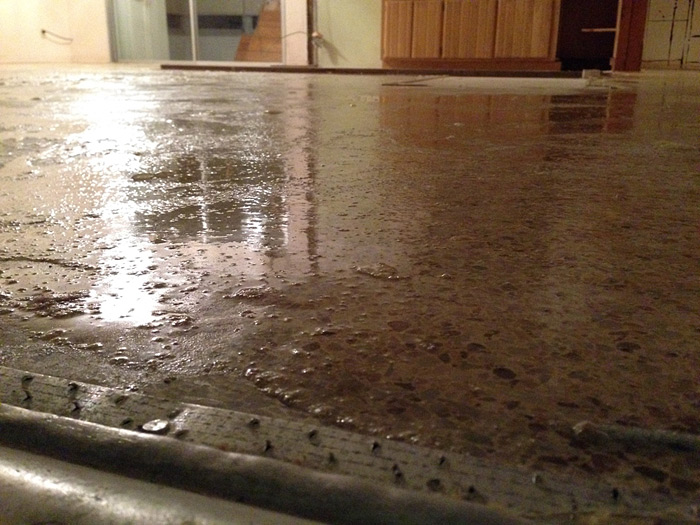
I didn’t have the pleasure of seeing this part of the process in person, but Dave said the fumes were so strong, they made his eyes burn before he even got to the door. The details are a little fuzzy now but I think the stripper soaked into the terrazzo for 24 hours or thereabouts before they stared the grinding process. The company that we hired to do the job has a particular method of grinding and polishing where they achieve a very high-shine/polished look from their machines alone, not from a topical sealer. We’ve learned that this can either be a negative or positive thing depending on your perspective. (Believe me, I’ll have more to say on that later.) Once the floors were completely done, we were surprised by how much dust was left behind. Not because the company didn’t clean up after themselves, but because dust would continue to be released from the ground up for a few days. Truthfully, we were cleaning up a fine layer of dust constantly for a long time afterwards. But I will share more about that tomorrow when I reveal the completed floors. I’m excited for you to see and hear about the surprising results in the 3rd and final part of this little series! I guarantee it’s not what you’re expecting. 😉
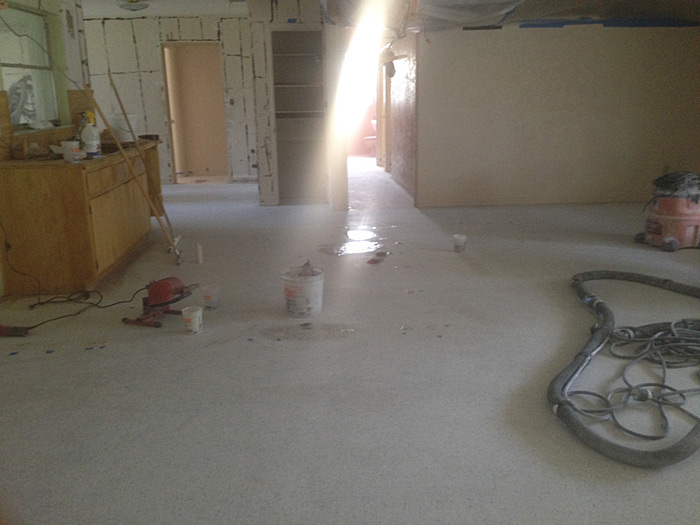
One more shot of the floors in the grinding process.
